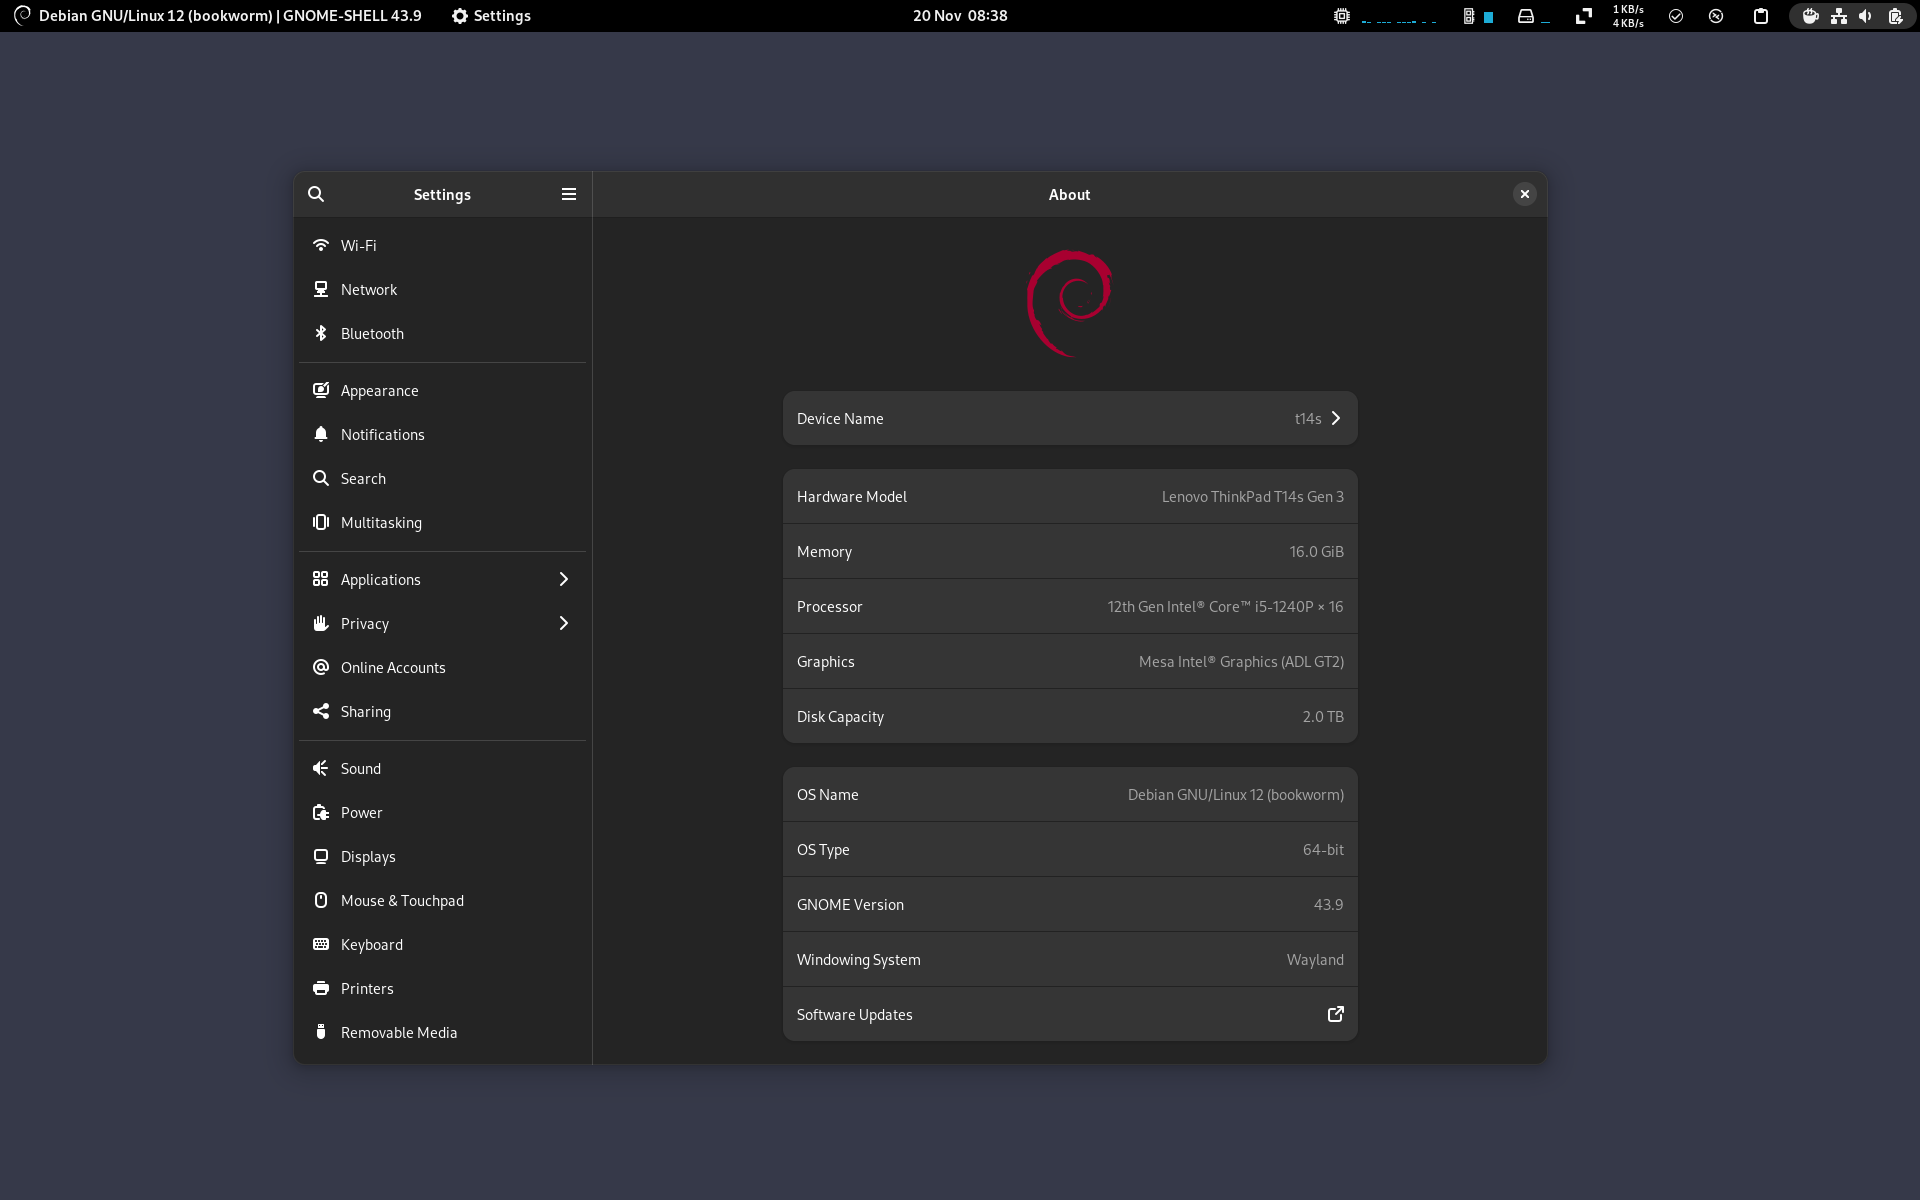
My Debian 12 (bookworm) desktop set-up

Creating a good Debian desktop experience is not too difficult, thanks to the excellent work of the Debian developers, but I thought it might be interesting to share how I set-up my Debian systems. This post covers Debian 12 "bookworm" only. It also covers just my desktop installs, I may write a server specific post at a later date.
Installation
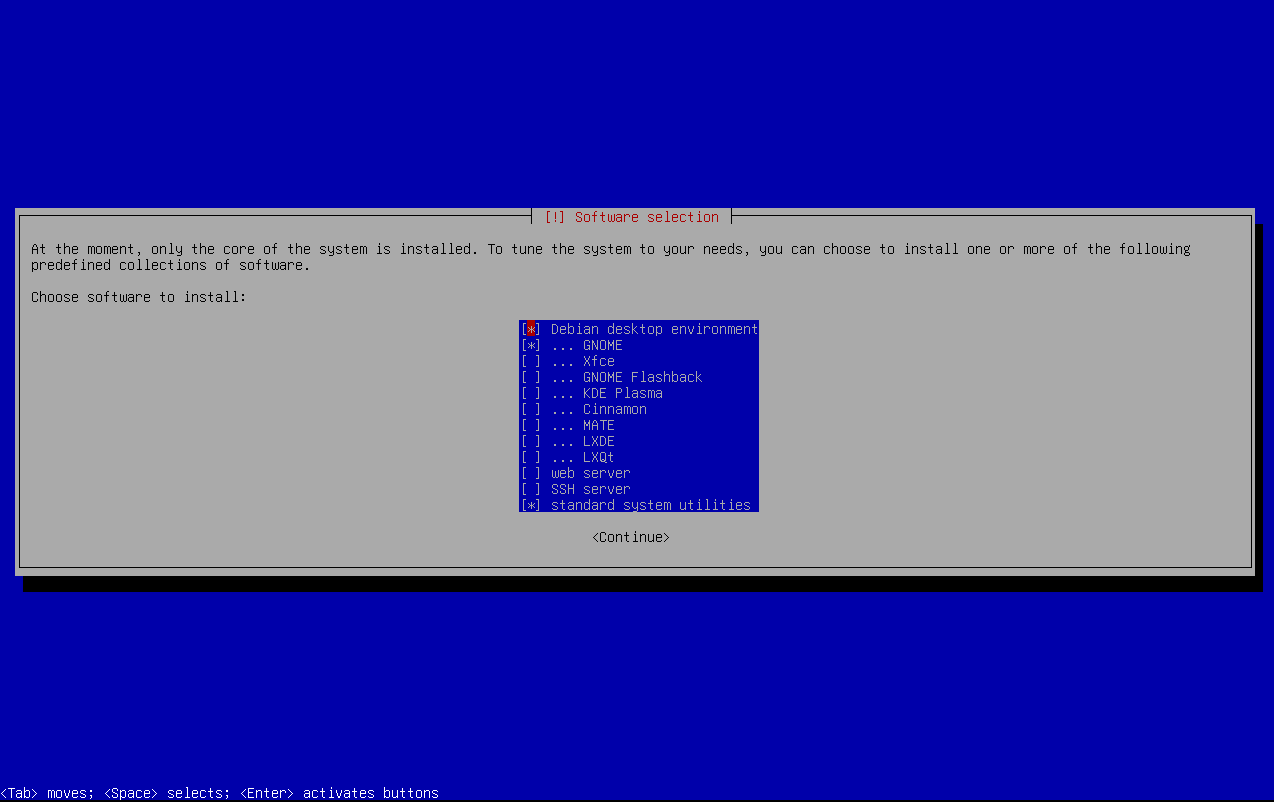
To begin with, I install Debian using the netinst image and I use the default tasksel selections to get a working GNOME desktop environment. The installation media can be downloaded from the Debian downloads page.

Installing Debian is fairly trivial, but the act of installing it is beyond the scope of this blog post so I won't bore anyone with the details. That said, if you are interested to know how to install Debian, there is a good installation guide here.
The only thing of note about my installation method is that I don't create a root user, instead opting to give sudo privileges to my user account. This is achieved by leaving the root password blank when prompted during the installation.
Post Installation
APT sources
The first thing I do after a fresh install is configure the system's APT sources file. I use the Debian contrib and non-free repositories, which are not configured by default, so I edit the file /etc/apt/sources.list to look like this:
deb http://deb.debian.org/debian/ bookworm main non-free-firmware contrib non-free
deb http://security.debian.org/debian-security bookworm-security main non-free-firmware contrib non-free
deb http://deb.debian.org/debian/ bookworm-updates main non-free-firmware contrib non-free
# Backports
deb http://deb.debian.org/debian bookworm-backports main non-free-firmware
I don't use the source repositories, so I remove any lines beginning with deb-src. Once the file has been edited and saved, I update APT's sources with the following command:
sudo apt update
Install packages
The next thing I do is to install a bunch of packages. Most of the packages are utilities, tools and libraries. If you are following along, you may or may not need these. In fact, I'm not entirely sure I need all of them, but I've been adding packages to the list for a number of years and I've forgotten why I added some of them. I should probably audit the list, but in the meantime, it shouldn't do any harm to install them.
sudo apt install build-essential dconf-cli uuid-runtime git curl zip unzip fish terminator neofetch lm-sensors bat gir1.2-gtop-2.0 webp-pixbuf-loader xdotool firmware-linux firmware-linux-free firmware-linux-nonfree remmina sshfs gnome-sushi virt-manager heif-gdk-pixbuf heif-thumbnailer gnome-screenshot libvirt-clients ffmpeg sox pwgen uuid inxi sqlite3 imagemagick inotify-tools libnotify-bin gir1.2-gstreamer-1.0 gstreamer1.0-clutter-3.0 gstreamer1.0-libav gstreamer1.0-vaapi gstreamer1.0-plugins-bad gstreamer1.0-plugins-base gstreamer1.0-plugins-good gstreamer1.0-plugins-ugly gstreamer1.0-pulseaudio gstreamer1.0-x libgstreamer-plugins-bad1.0-0 libgstreamer-plugins-base1.0-0 libgstreamer1.0-0 fonts-cantarell fonts-hack fonts-jetbrains-mono fonts-powerline fonts-roboto flatpak gnome-software-plugin-flatpak vlc menulibre fprintd libpam-fprintd network-manager-*-gnome network-manager-strongswan libcharon-extra-plugins python3-pil nmap htop rsync nautilus-nextcloud
If I'm going to use virt-manager to manage virtual machines on the system, I add my user to the libvirt group with the following command:
sudo usermod -a -G libvirt $(whoami)
Set-up fish shell
I use fish as my default shell, preferring it over the default Bash shell. I set fish as the default shell with the following command:
chsh -s /usr/bin/fish
Note, the above command will prompt you for your user password. Also, you will need to logout before it will become the default shell. Meanwhile, you can use fish by typing fish at the Bash prompt.
Oh My Fish and Pure theme
I use the Oh My Fish framework to enhance my fish experience. It can be installed with the following command:
curl https://raw.githubusercontent.com/oh-my-fish/oh-my-fish/master/bin/install | fish
Once installed, I install the Pure theme with the following command:
omf install pure
Flathub and Flatpak apps
I use Flatpak to install most GUI desktop applications. I already installed the required Flatpak packages above, but the Flathub repository file needs to be installed with the following command:
flatpak remote-add --if-not-exists flathub https://dl.flathub.org/repo/flathub.flatpakrepo
The above command will prompt you for your user password. You will also need to logout and login before you can install any Flatpaks from Flathub. I have the following Flatpak apps installed my system:
flatpak install com.belmoussaoui.Decoder com.belmoussaoui.Obfuscate com.github.finefindus.eyedropper com.github.huluti.Curtail com.github.maoschanz.drawing com.github.tchx84.Flatseal com.mattjakeman.ExtensionManager com.mongodb.Compass com.rafaelmardojai.Blanket com.rafaelmardojai.WebfontKitGenerator com.vixalien.sticky de.haeckerfelix.Shortwave dev.geopjr.Calligraphy fr.handbrake.ghb garden.jamie.Morphosis io.dbeaver.DBeaverCommunity io.github.andreibachim.shortcut io.github.bytezz.IPLookup io.github.fabrialberio.pinapp io.github.fkinoshita.Telegraph io.github.nate_xyz.Conjure io.github.ronniedroid.concessio io.github.tfuxu.Halftone io.github.unicornyrainbow.secrets io.gitlab.adhami3310.Converter io.gitlab.news_flash.NewsFlash io.gitlab.theevilskeleton.Upscaler io.gitlab.zehkira.Monophony io.missioncenter.MissionCenter it.mijorus.collector it.mijorus.smile it.mijorus.whisper me.iepure.devtoolbox org.blender.Blender org.flozz.yoga-image-optimizer org.gimp.GIMP org.gnome.Boxes org.gnome.Extensions org.gnome.Fractal org.gnome.NetworkDisplays org.gnome.Podcasts org.gnome.Showtime org.gnome.design.IconLibrary org.gnome.dspy org.gustavoperedo.FontDownloader org.inkscape.Inkscape org.kde.kdenlive org.nickvision.tubeconverter org.soundconverter.SoundConverter page.codeberg.JakobDev.jdPixelUpscaler re.sonny.OhMySVG app.devsuite.Ptyxis
GNOME Shell extensions
I enjoy the vanilla GNOME Shell experience, but I do install a few extensions. I use Extension Manager for this (installed above as a Flatpak app.) The extensions I use are:
- AppIndicator and KStatusNotifierItem Support
- Caffeine
- Clipboard Indicator
- Replace Activities Text
- Smile - complementary extension
- Tandem Raise
- TopHat
Firefox
Debian comes with Firefox Extended Support Release, which is fine, but I like to run the current version. There are a bunch of ways to install Firefox on Debian, but I tend to use the compiled binaries supplied by Mozilla. I install the binaries in my home directory under ~/.local/firefox. The following shell script will take care of this:
#!/bin/bash
DOWNLOAD_URL="https://download.mozilla.org/?product=firefox-latest-ssl&os=linux64&lang=en-GB"
OUTPUT_FILE="firefox.tar.bz2"
LOG_FILE="/home/$USER/firefox-download.log"

echo "Starting download..."

# Download the file with error handling and logging
curl -fL --retry 3 --retry-delay 5 -o "$OUTPUT_FILE" "$DOWNLOAD_URL" > "$LOG_FILE" 2>&1

# Check if the download was successful
if [ $? -eq 0 ]; then
    echo "Download succeeded."
    echo "Extracting Firefox..."
    tar -xjf firefox.tar.bz2
else
    echo "Download failed. Check the log file for details."
    exit 1
fi

echo 'Moving Firefox to /home/$USER/.local/firefox'
mv firefox /home/$USER/.local/
echo 'Creating .desktop file'
DESKTOP=$(cat <<EOF
[Desktop Entry]
Name=Firefox
Comment=Browse the World Wide Web
GenericName=Web Browser
X-GNOME-FullName=Firefox Web Browser
Exec=/home/$USER/.local/firefox/firefox %u
Terminal=false
X-MultipleArgs=false
Type=Application
Icon=/home/$USER/.local/firefox/browser/chrome/icons/default/default128.png
Categories=Network;WebBrowser;
MimeType=text/html;text/xml;application/xhtml+xml;application/xml;application/vnd.mozilla.xul+xml;application/rss+xml;application/rdf+xml;image/gif;image/jpeg;image/png;x-scheme-handler/http;x-scheme-handler/https;
StartupWMClass=Firefox
StartupNotify=true
EOF
)
echo "$DESKTOP" > /home/$USER/.local/share/applications/firefox.desktop
echo "Setting default browser"
sudo update-alternatives --install /usr/bin/x-www-browser x-www-browser /home/$USER/.local/firefox/firefox 200
echo 'Cleaning up.'
rm firefox.tar.bz2
echo 'All done.'
exit 0
If I want to install Firefox Nightly, I use this shell script:
#!/bin/bash
DOWNLOAD_URL="https://download.mozilla.org/?product=firefox-nightly-latest-l10n-ssl&os=linux64&lang=en-GB"
OUTPUT_FILE="firefox.tar.xz"
LOG_FILE="/home/$USER/firefox-download.log"

echo "Starting download..."

# Download the file with error handling and logging
curl -fL --retry 3 --retry-delay 5 -o "$OUTPUT_FILE" "$DOWNLOAD_URL" > "$LOG_FILE" 2>&1

# Check if the download was successful
if [ $? -eq 0 ]; then
    echo "Download succeeded."
    echo "Extracting Firefox..."
    tar -xf firefox.tar.xz
else
    echo "Download failed. Check the log file for details."
    exit 1
fi

echo 'Moving Firefox to /home/$USER/.local/firefox-nightly'
mv firefox /home/$USER/.local/firefox-nightly
echo 'Creating .desktop file'
DESKTOP=$(cat <<EOF
[Desktop Entry]
Name=Firefox Nightly
Comment=Browse the World Wide Web
GenericName=Web Browser
X-GNOME-FullName=Firefox Nightly Web Browser
Exec=/home/$USER/.local/firefox-nightly/firefox %u
Terminal=false
X-MultipleArgs=false
Type=Application
Icon=/home/$USER/.local/firefox-nightly/browser/chrome/icons/default/default128.png
Categories=Network;WebBrowser;
MimeType=text/html;text/xml;application/xhtml+xml;application/xml;application/vnd.mozilla.xul+xml;application/rss+xml;application/rdf+xml;image/gif;image/jpeg;image/png;x-scheme-handler/http;x-scheme-handler/https;
StartupWMClass=Firefox
StartupNotify=true
EOF
)
echo "$DESKTOP" > /home/$USER/.local/share/applications/firefox-nightly.desktop
echo 'Cleaning up.'
rm firefox.tar.xz
echo 'All done.'
exit 0
Note: Mozilla now provide a Debian repository for Firefox, which is probably a better way to install Firefox. It is also available as a Flatpak app.
Proprietary software
I use the following proprietary software, which I download as Debian packages from the web.
Once I have downloaded the packages, I install them with the following command from my Downloads directory:
sudo apt install ./*.deb
Packages from Debian Backports
Depending on the device, I might install the latest available Linux kernel from the Debian backports repository. At the time of writing, this was achieved with the following command:
sudo apt install linux-image-6.10.6+bpo-amd64/bookworm-backports
You can browse the available Kernels here: https://packages.debian.org/bookworm-backports/kernel/
Desktop wallpaper
Because everyone knows this is the most important part of any Linux installation, right? See: Debian Wallpaper Generator
Finishing touches
To finalise the set-up I restore my dotfiles and configs. Depending on if I'll be using the device for work, I'll also set-up a development server environment, but this is probably best left for a separate blog post.

Comments